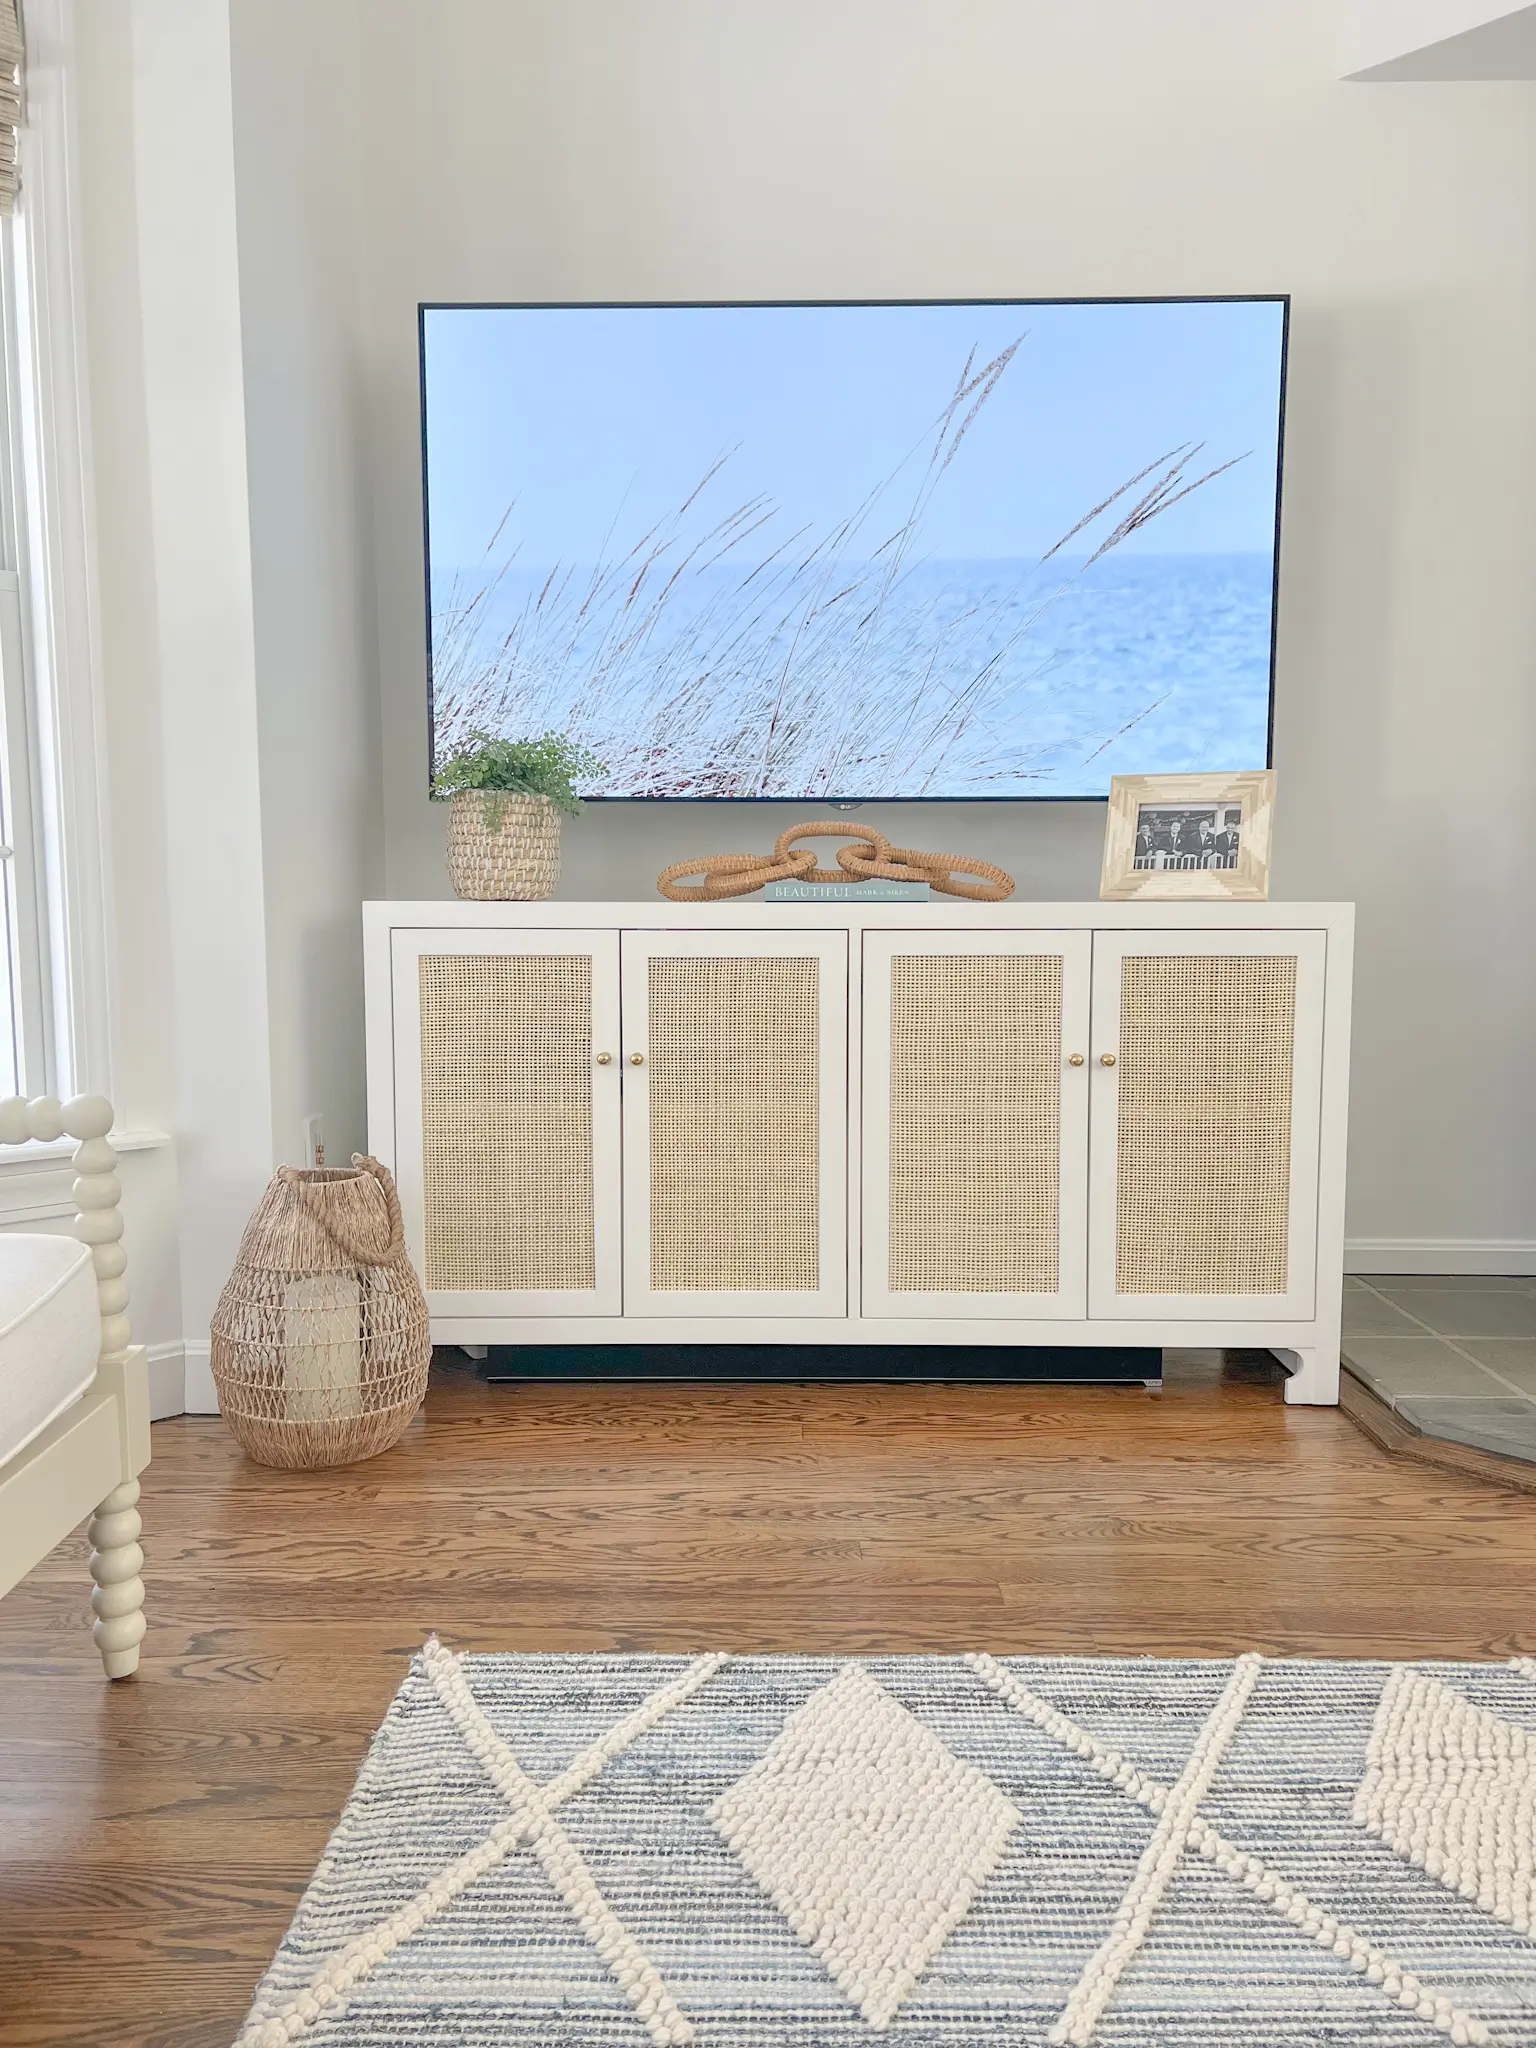
Are you looking to update your media cabinet but the style you want is only available in a sideboard cabinet? Want to add a touch of elegance to your living room? Today, we’re diving into a DIY project that will transform a Worlds Away Sofia Sideboard into a functional media cabinet
Materials Needed
- Drill
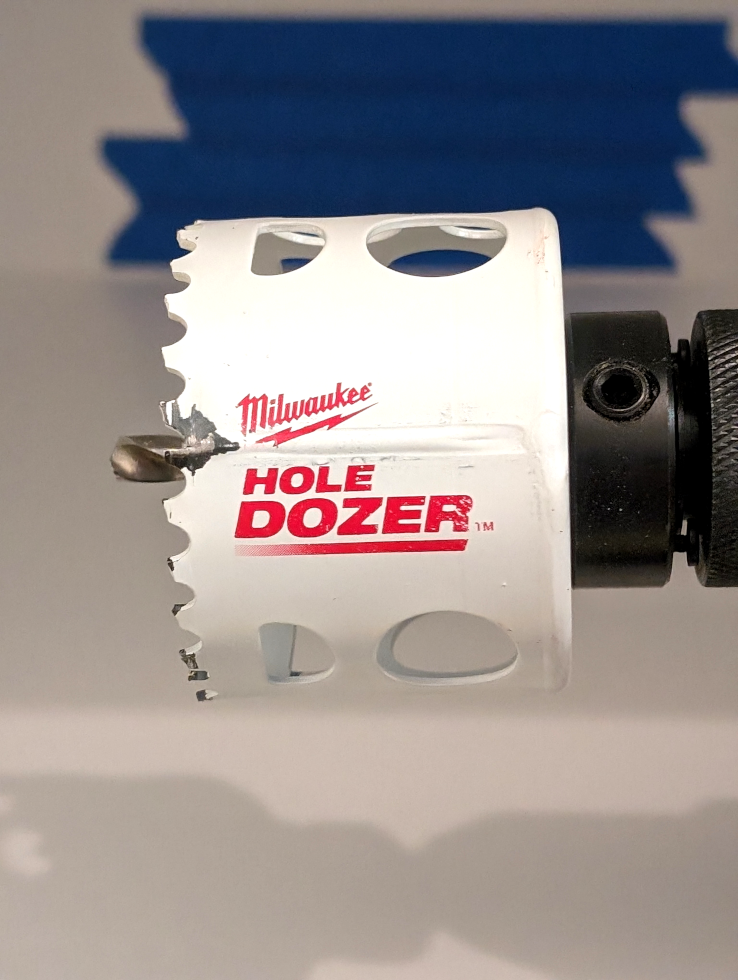
- 2 1/2 inch hole saw attachment
- Measuring tape
- Painters tape
- Pencil
- Sandpaper
Measure and Mark
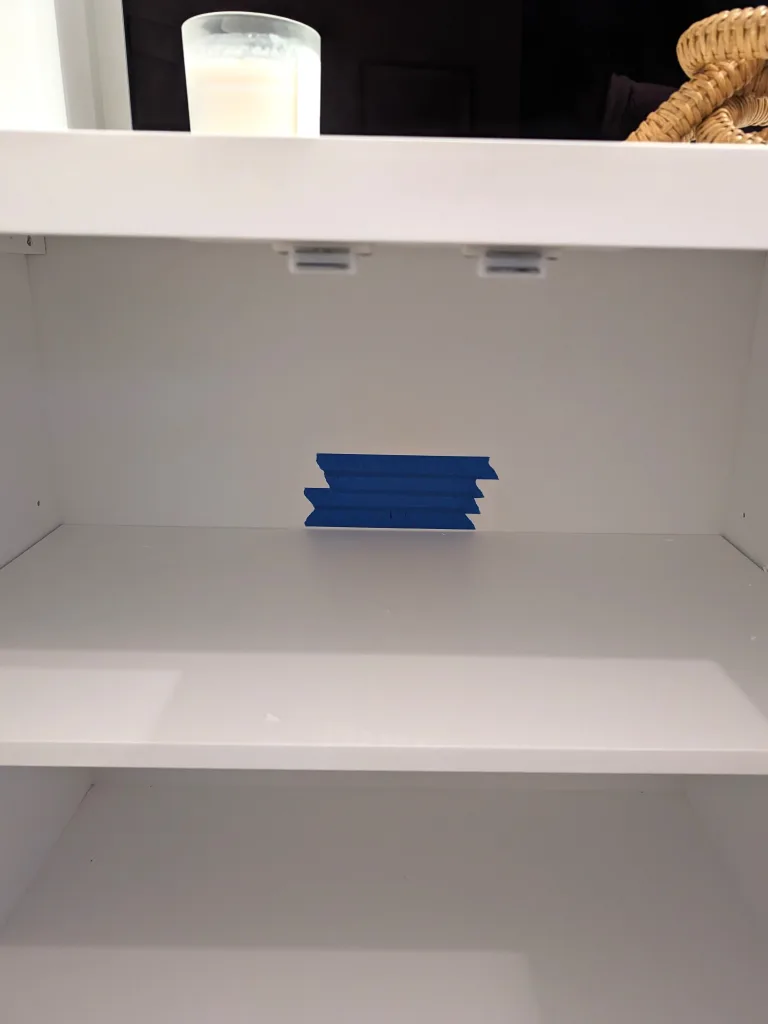
Make sure your shelves are set at the final heights you want for storage. The hole can be located just above the self where your cable box / apple tv devices will go so it will hide behind them. My shelf is 28 inches wide so I measured 14 inches and made a mark just above the shelf for the center (measure from both sides to double check).
Place four strips of painters above the self on that center line – stacking them up to be larger than your hole. This will help keep the edges of the hole neat to prevent blowout – this is when the paint on the edges chips badly or a veneer finish splinters. This is common when modern furniture isn’t solid wood on the back. You cloud tape both sides but since this is against the wall I wasn’t concerned about minor chipping on the back where no one will see it.
Now is the time to triple check your hole location for center, height and how large you want it to be. There’s no going back after the next drilling step!
Painters tape to mark the location and prevent chipping

Drill the Hole
Attach the 2 1/2 inch hole saw to your drill and remove the shelving if it’s in your way. The block of painters tape is helpful here also to make sure your hole saw is completely above the top of the shelf. Position the drill bit at the center mark on the masking tape and begin drilling. Apply gentle pressure going in slowly but with the drill at full speed. You don’t want to have the drill going slow or push it quickly into the material or it will chip or bind up – let the saw do the work.
Sand the Edges
After you’ve cut the hole, use sandpaper to smooth out any rough edges around the opening. This will prevent any splinters or snags when threading cables through the hole. For this piece the backer was MDF and didn’t need any sanding at all. If you have any chipping on a plywood backer you definitely don’t want to pull your cables over that until sanded.
Organize Your Cables
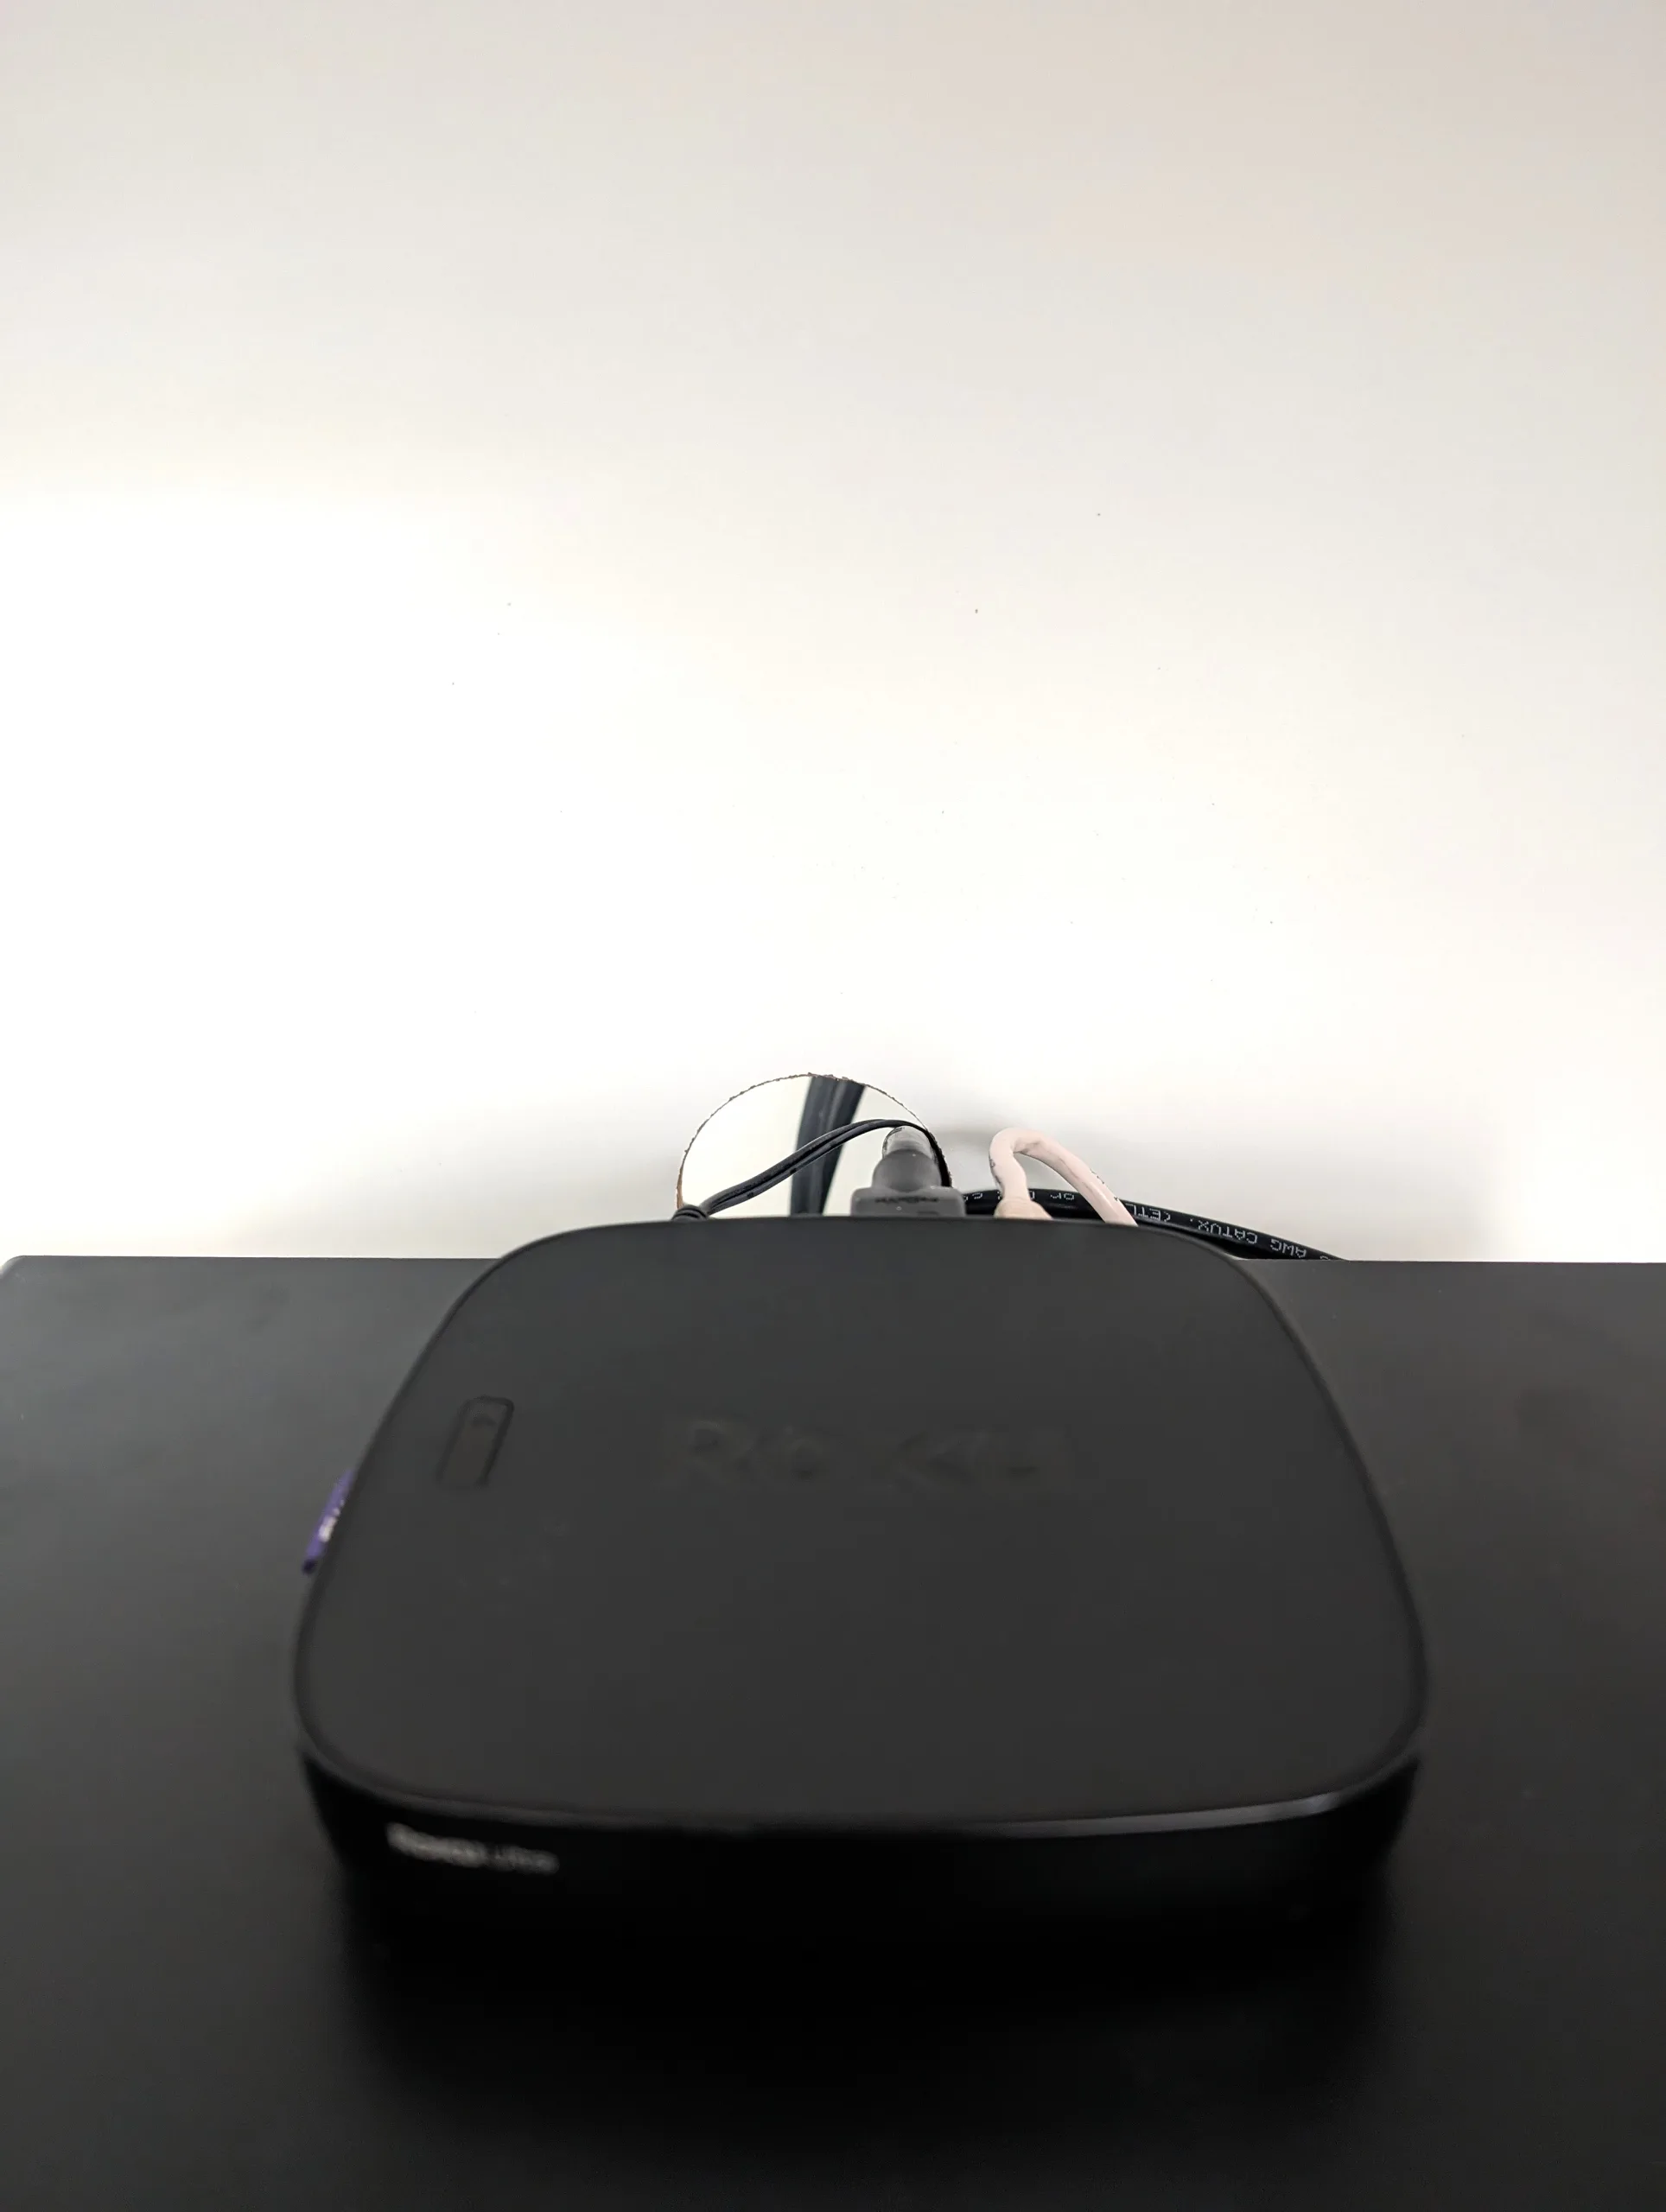
Now it’s time to tidy up those cords! Bundle your cables together using cable ties and thread them through the opening. I prefer to use these velcro cable ties for black or white cords if they’ll be visible like in a home office.

Enjoy Your Upgraded Media Cabinet
With the addition of a simple hole and careful planning, your Worlds Away Sofia Sideboard has been transformed into a stylish and functional media cabinet. No more unsightly cables cluttering up your entertainment space.
DIY projects like this one not only save you money but also allow you to customize your furniture to fit your style. With just a few basic tools and materials, you can turn an ordinary piece of furniture into something extraordinary. Grab your drill and get started on your own media cabinet makeover!


